Facebook send button for Blogger

fb_send

It had been some time since Facebook released their new Send Button.The Send button is a social plugin that websites can use to let people send a link to a friend through Facebook Messages, post it to a Group, or email it to an individual. Follow this tutorial to add it to your Blogger Blog.

Configure how your Send button should look like, using the options below, and then continue following the instructions in this tutorial.


Color Scheme
Font
Float
Location of the Button
Display

Demo

1. Login to your Blogger Dashboard, and navigate to Design > Edit HTML.

2. Click on the checkbox  which says “Expand Widget Templates”

3.  Look for <data:post.body/> and immediately below that paste the following code.

<div>
<b:if cond='data:post.isFirstPost'>
<script>(function(d){
var js, id = 'facebook-jssdk'; if (d.getElementById(id)) {return;}
js = d.createElement('script'); js.id = id; js.async = true;
js.src = "//connect.facebook.net/en_US/all.js#xfbml=1";
d.getElementsByTagName('head')[0].appendChild(js);
}(document));</script>
</b:if>
<fb:send expr:href="data:post.canonicalUrl" font="arial" colorscheme="light"></fb:send>
</div>

5.Next you have to add the fb namespace to your template tag.Your template should have the specification for the fb tag that you have used. The following namespace declaration will take care of that. To declare the namespace, find

<html

and change it to

<html xmlns:fb="https://www.facebook.com/2008/fbml"

The following screenshot will help you out.

image This is necessary for all FBML widgets using the fb tag.  So if you have already added the namespace while adding some other FB plugin, then you can skip this.

6. Save your template, and now you should have the send button working on your  blog.

Hmmmm I want something more than the plain send button!!

In that case, you can use the Facebook like button which can accommodate a send  button along with it. To know more about the usage, refer the following post.

1. Facebook Like + Send Button for Blogger


Source: http://www.bloggerplugins.org/2011/05/facebook-send-button-for-blogger.html

Add Google Plus One Button on Blogger

Add Google Plus One ( +1 ) Button on Blogger

Google has released an alternative to the Facebook and Twitter Sharing buttons named +1.If you like something that you find on the web, you can hit the +1 button, and your +1's will help friends, contacts, and others on the web find the best stuff when they search. This tutorial will guide you on adding the same to your Blogger Blog.

Checkout this video to know more about the +1 button

Why Should I add the Google +1 Button?

1. The Plus one button will have a  major impact on your Search results. When a friend of yours does a search in Google, your +1s will count.

2. You can get a detailed report about the +1 metric and how it affects your search traffic over at Webmaster Tools. You can read more about it at the Official Google Webmaster Blog - http://googlewebmastercentral.blogspot.com/2011/06/1-reporting-in-google-webmaster-tools.html

Adding Google Plus one (+1) button to Blogger

1. If you are already using the official Blogger Sharing buttons, you should  already be seeing the +1 buttons on your blog. If it is not, then  go to that tutorial, and you will get the answer to how you can fix it.

2. No I don’t want to add those Blogger Sharing buttons, but would love to add the +1 button somehow. If that’s the case, then read on..

3.Generate the Google +1 button code using the following generator.(The codes and the tutorial will be updated with the options that you make using the generator)


Configure the Button Demo


Button Type
Language
Float
Location of the Button
Display

4. Go to Blogger Dashboard > Design > Edit HTML and click on the button which says “Expand widget Templates”. Look for </head> and immediately above that paste

<script type="text/javascript" src="http://apis.google.com/js/plusone.js">
{lang: 'en-US'}
</script>

5. Now look for <data:post.body/> and immediately below that paste

<div>
<g:plusone size="standard" expr:href="data:post.canonicalUrl"/>
</div>

6.Save the template, and you should see the Google  +1 buttons on your blogger blog.

You think its cool?, then  +1 it :P


Source: http://www.bloggerplugins.org/2011/06/add-google-plus-one-button-on-blogger.html

Awesome Blogger Dashboard

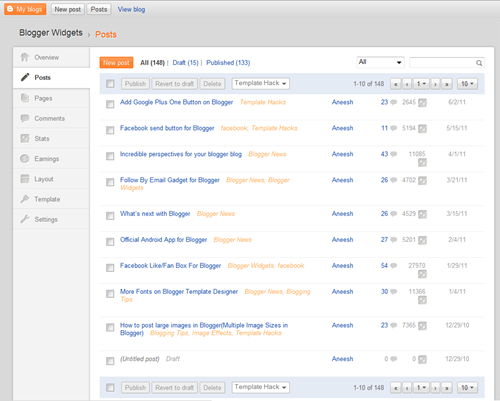
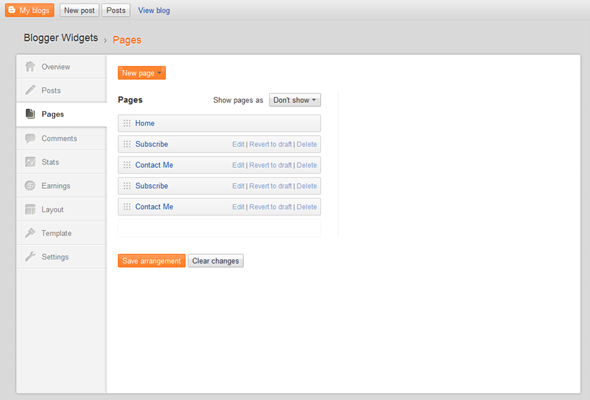
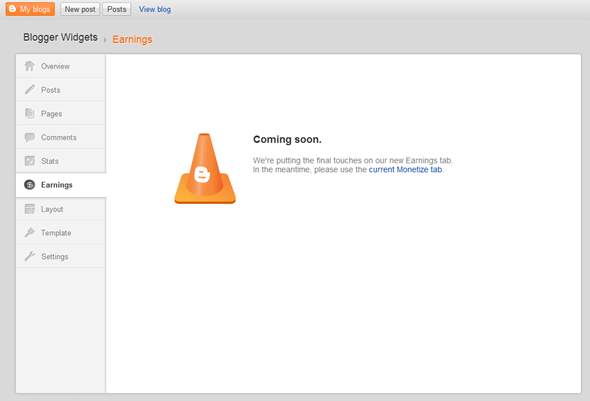
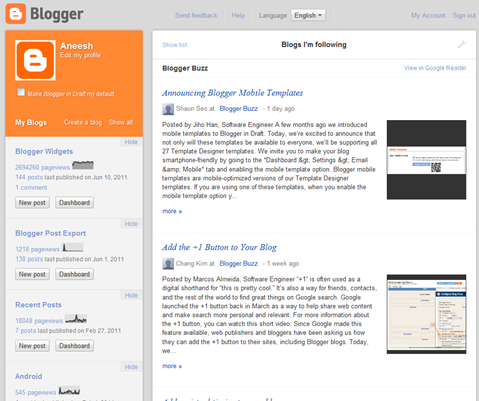
awesom-blogger-dashboardBlogger has been rolling out the new UI to Blogger in Draft Users, and its my turn now ;) It looks super cool!. Check out these screenshots [Click the image to get a bigger version]
0-blogger-new-dashboard

1-blogger-new-dashboard

2-blogger-new-dashboard

3-blogger-new-dashboard

4-blogger-new-dashboard

6-blogger-new-dashboard

7-blogger-new-dashboard

8-blogger-new-dashboard

9-blogger-new-dashboard

10-blogger-new-dashboard-post-editor

Check out if you have it enabled already. Just visit http://draft..blogger.com and you might see a new Dashboard. :)
Source: http://www.bloggerplugins.org/2011/06/awesome-blogger-dashboard.html

Recent Posts using Blogger Feed Widget

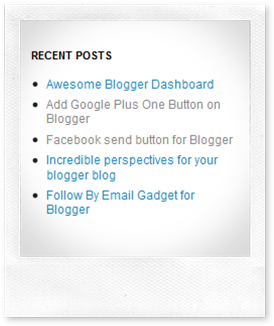
imageYou can use the Blogger’s Official Feed Gadget to act as a Recent Posts Widget. Here are the Steps to Do it

1. Login to Blogger Dashboard and Go to Design > Page Elements (or Layout)

2. Click the Add a Gadget Link, and Add a Feed Gadget From the Popup Window

image

3. The Feed Gadget can display a maximum of 5 posts

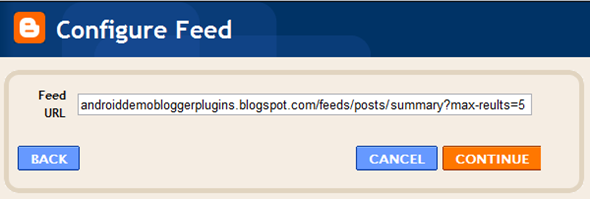
In the Feed URL filed, give the URL as

http://yourblog.blogspot.com/feeds/posts/summary?max-results=5

(after editing it with your Blog URL)

image

As I have a Custom Domain blog,  I would use

http://www.bloggerplugins.org/feeds/posts/summary?max-results=5

as the feed URL

4. Once the Feed is retrieved, adjust the Gadget Settings and Save the Gadget.

image

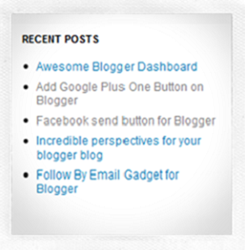
5. Now you should see the Recent Posts Widget on your Blog

image


Source: http://www.bloggerplugins.org/2011/06/recent-posts-using-blogger-feed-widget.html

Change Blogger Favicon Easily Without any Code Changes

The new Blogger Dashboard allows you to change your blog’s favicon with a few clicks. . The feature has been around for a while now and most of you might already be using it.This tutorial is for the ones who don’t

If you are not sure, what a Favicon is then refer this image:

image

The default Blogger Favicon looks like this : You can replace it with some other icon of your choice.
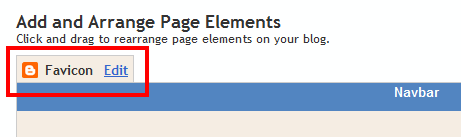
How to change the Blogger Favicon without any Code Edits

1. Login to your Blogger Dashboard and navigate to Design > Page Elements.

2. Click on the Edit link next  to the Favicon element

https://lh5.googleusercontent.com/k9O8N5Bjn_UJykwz0oZjyVkID28w2WzKgtxiWrfkE_1L5_jh7TBRUPKUX0jXM8LbSaAAlQ3rwX0jXtJ2kRtspuLOiYvAsGIW5nvpN_VbXbeBwh_bmCk

3. Click the Browse button and select the appropriate favicon which you already have on your computer.

image 

4. Once it is uploaded, you will see the Favicon and a Remove link next  to it. Click on the Save button

image

5. Save the Changes and you are done.

image

Common Questions

1. I changed the favicon, but it is still showing the old favicon.Why?

Just clear your browser cache, and reload your blog once or twice. It should now work.

2. Does it support only icon files?

You can use other images as well. Blogger will automatically resize them and convert them into the icon format. But the image should be less than 100kb.

3. Where can I download Favicons from?

http://www.iconspedia.com/ Just download the .ico version of the icon. You can download the 16x16 version of the icon if available. You will find lots of similar sites if you do a Google Search.


Source: http://www.bloggerplugins.org/2011/07/change-blogger-favicon-easily-code.html

Google Scribe in Blogger

Google Scribe is an Auto text completion tool which was launched in Google Labs an year ago. Google has recently added this feature to the Post Editor in its Draft version. Google Scribe helps you write more efficiently by auto completing words and phrases as you type. Google Scribe supports Arabic, Dutch, English, French, German, Hungarian, Italian, Polish, Portuguese, Russian, Spanish and Swedish and the language is automatically detected using the text in the post.


How to Enable Google Scribe in Blogger

1. Login to http://draft.blogger.com

2. In your post editor, you should see a pencil icon on the right(available only in the Compose mode). clicking this icon will enable/disable Scribe.


 and this is how the auto text completion works.. (notice the suggestion in grey)


Once Google Scribe is turned on, suggestions will appear in grey as you type.You can accept the suggestion by hitting the space bar or by keying in a punctuation mark.

3. If you would like to get more than one test suggestion at a time, then click on drop menu next to the Pencil icon, and Select "Show multiple Suggestions"


.

...and here is a screen shot of the multiple suggestion in action.


Keyboard Shortcuts

Ctrl + j - to enable/disable Scribe

Ctrl + Shift + j - to enable/disable multiple suggestions

ESC - to temporarily remove  a suggestion

TAB - to restore a suggestion.


Try scribing, and do let me know how it goes :)..


Source: http://www.bloggerplugins.org/2011/08/google-scribe-blogger-suggestions.html

Changing Blogger Mobile Template

Changing Blogger Mobile TemplateThe Blogger Mobile templates is something pretty cool, and blogger provides you with 27 mobile templates to choose from. You cannot completely customize the mobile template(as of now) but you can pick any of the available templates.

All of these templates come with Post Thumbnails, and a custom excerpt rendered using the data:post.thumbnailUrl and data:post.snippet variables. These templates also support the swipe navigation. You can swipe left and right to move across pages on your Touch screen mobile

Here is a preview of how this Blog looks on a Samsung Galaxy S2

bloggerplugins.org_on_sgs2

Lets see how we can change the blogger mobile template

1. Login to Blogger in Draft : http://draft.blogger.com

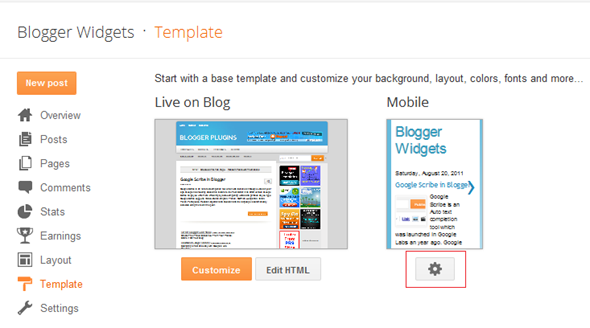
2. Go to the Template Section

image

3. Click on that button below the mobile version

image

3. From the next screen you will be able to enable the mobile template, and select the template which you like. Use the dropdown and the slider to pick the perfect template

image

4. When you are done selecting the template, Click the Save button.

You might have noticed a QR code on the Template Selection Screen. Scanning this from your mobile will take you directly to the mobile version of your blog.

If you visit your blog from your mobile, you should be automatically taken to the mobile version of your blog.


Source: http://www.bloggerplugins.org/2011/08/changing-blogger-mobile-template.html
 
Play : Agame | Y8 Games | Y3 Games
Copyright © 2011. Blogger Tips And Tricks 2012 - All Rights Reserved

Proudly powered by Blogger